Setting up your WNC student account
You received an email telling you your WNC student email address — your NetID — and asking you to call the Help Desk. This guide covers what happens on that call and what you will do afterward. Plan on about 20 minutes.
You have two WNC accounts
- Your NetID is your WNC email account. It gets you into email, OneDrive, Teams, Word, Excel, and PowerPoint. This guide sets it up.
- Your WNSHEID — also called your myWNC account — is your other campus login. It looks like a W followed by ten digits, e.g. W1234567890. It gets you into Canvas, PeopleSoft, and the College’s other systems.
They are separate accounts with separate passwords. Setting up your NetID will not change your WNSHEID password, and it will not fix a problem getting into Canvas.
Before you call
You will need all of these ready:
- Your activation email — it contains your NetID in the format firstname.lastname@wnc.edu. Have it open.
- Your student ID number.
- A government-issued photo ID — driver’s license, state ID, or passport. You will be asked to show it on camera.
- A device that can join a Zoom meeting with the camera on — computer, tablet, or phone. The Help Desk verifies your identity over Zoom before giving you access to your account, and they need to see your face and your ID on camera.
- Your smartphone — you will install an app on it during setup.
No smartphone, or no way to join Zoom with a camera? Call the Help Desk anyway and say so up front. There is a different path for you — don’t try to work around it.
WNC Help Desk: 877-269-0263
Part 1 — Identity verification call
- Call the Help Desk.
- The agent will start a Zoom session with you and send you a link or meeting ID. Join it and turn your camera on.
- If you can’t install Zoom, you can join from a web browser — look for the "Join from your browser" link on the Zoom page.
- Hold your photo ID up to the camera when asked, and answer the verification questions about your student record. Your camera needs to stay on — the agent has to match your face to your ID.
- Once you’re verified, the agent will read you a temporary password out loud. Write it down and keep it until the very end — you will need to type it twice, once at the start and once at the last step.
The Help Desk will never ask for your password
- The Help Desk will never email or text you a password.
- The Help Desk will never ask you what your password is.
- If anyone does either of those things, it is not the Help Desk.
Part 2 — First sign-in
- Open a web browser and go to office.com. You will land on a Microsoft 365 page — this is normal; Microsoft renamed the address.
- Select Sign in.
- On the Microsoft sign-in box, type your NetID and select Next. This first screen is plain Microsoft
branding with no WNC logo — that’s expected.
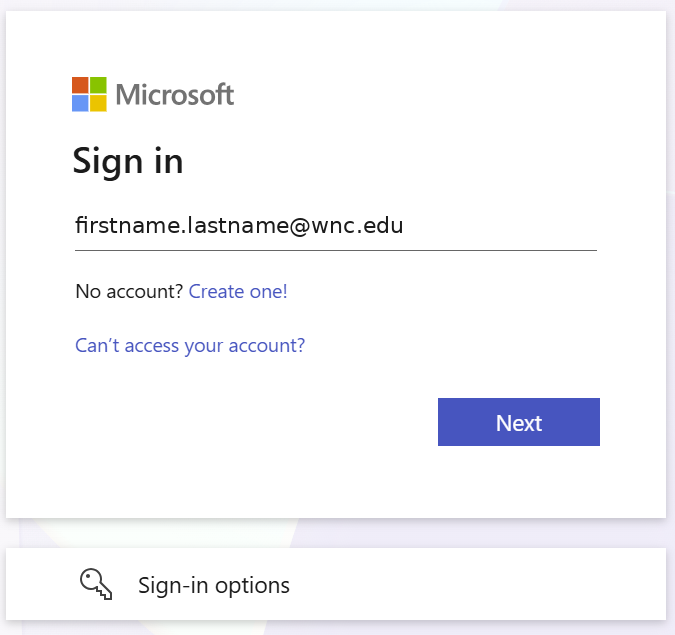
The plain Microsoft sign-in box. - The page will now change to a Western Nevada College sign-in box with a campus photo behind it. This is how you know you’re in the right place.
- Enter the temporary password and select Sign in.
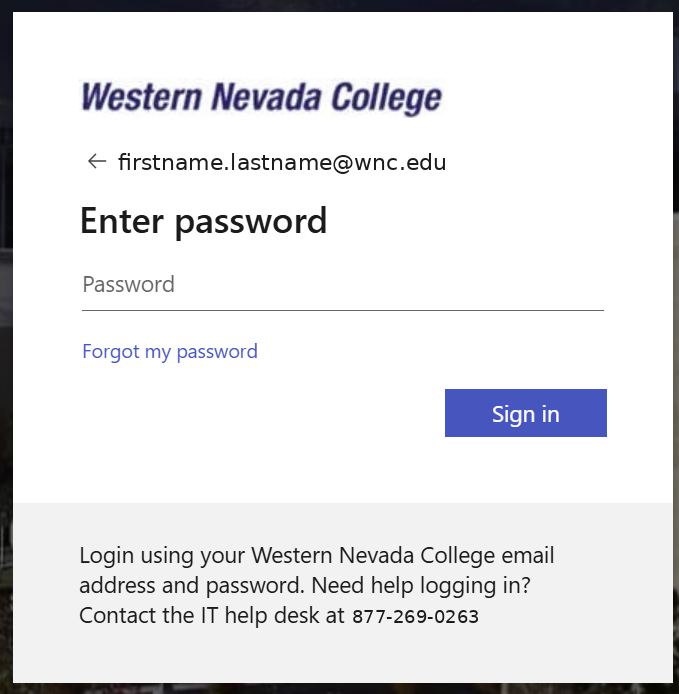
If the WNC branding never appears, stop. If you type your WNC email address somewhere and the Western Nevada College branding never appears, you may be on a fake sign-in page. Close the browser and go to office.com by typing it in yourself.
Part 3 — Set up your verification app
Next you will see "Let’s keep your account secure." This is where you set up the second step that protects your account.
You will be switching between two devices. Some of these steps happen on your computer and some on your phone. Each step below says which one to use. Keep both in front of you, and don’t close the browser window on your computer — you will keep coming back to it.
- On the Let’s keep your account secure screen, select Next.
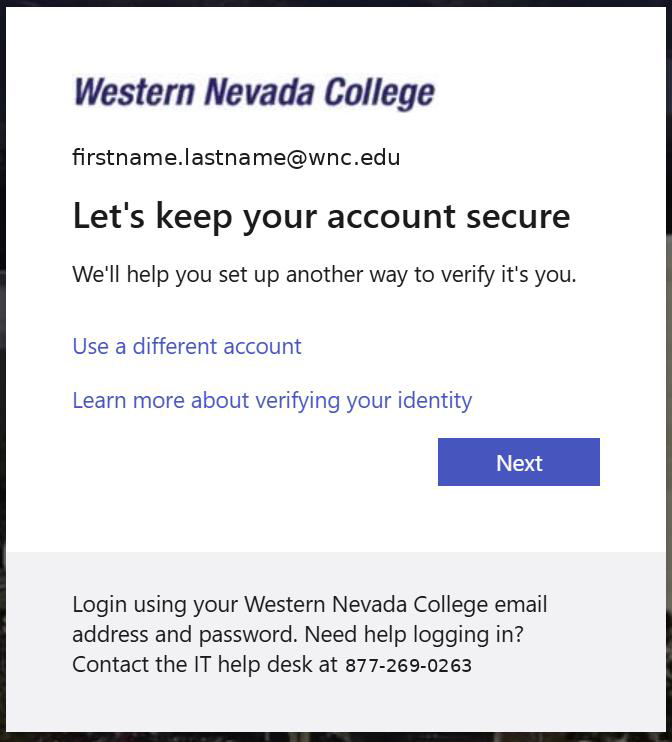
Let's keep your account secure. - Install Microsoft Authenticator appears. On your phone, install the app from the App Store (iPhone)
or Google Play (Android), open it, and tap through the intro screens. Then select Next.
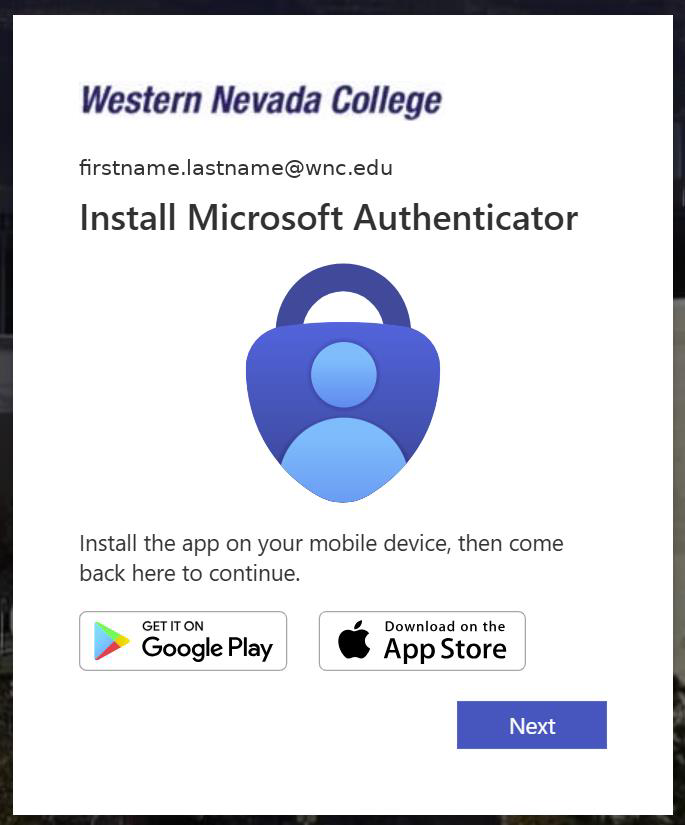
Install Microsoft Authenticator. - Set up your account in app appears. On your phone, allow notifications if asked, then add an
account and choose Work or school. Back on your computer, select Next.
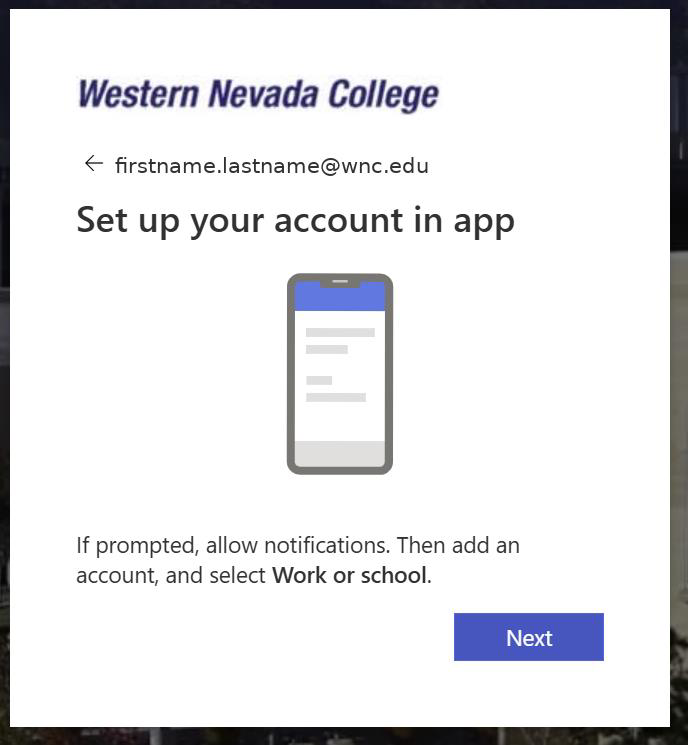
Set up your account in app. - Scan the QR code appears on your computer. Leave it on screen — you will come back to it.
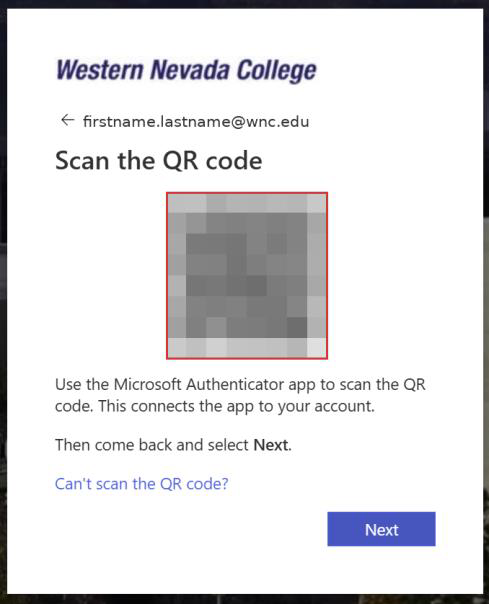
On your computer. - On your phone, the Authenticator app opens a camera view. Point it at the code on your computer screen. If the camera
won’t read the code, tap Enter code manually.
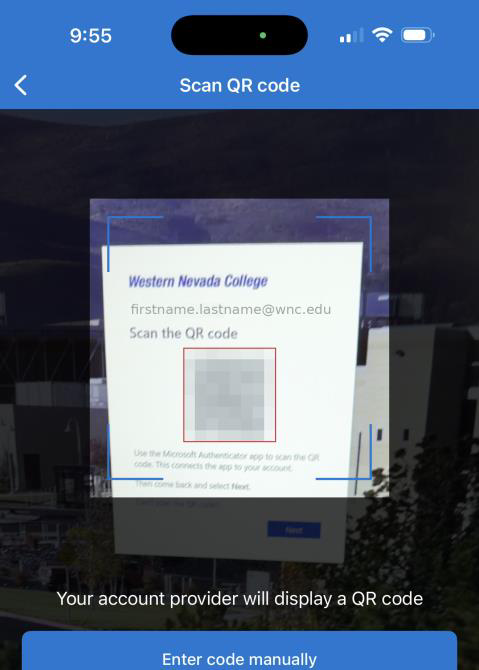
On your phone. If the camera won't read the code, tap Enter code manually. - Your phone will now list your WNC account. That means the scan worked.
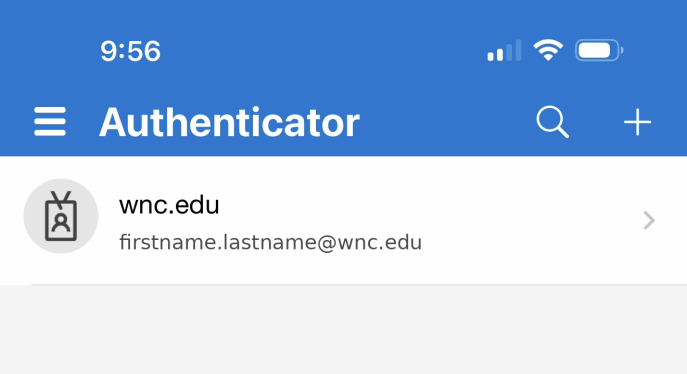
On your phone. - Go back to your computer and select Next. The computer does not move on by itself — it waits for you.
- Let’s try it out appears with a two-digit number on your computer screen. Despite the name,
this is not optional — it is how setup finishes.
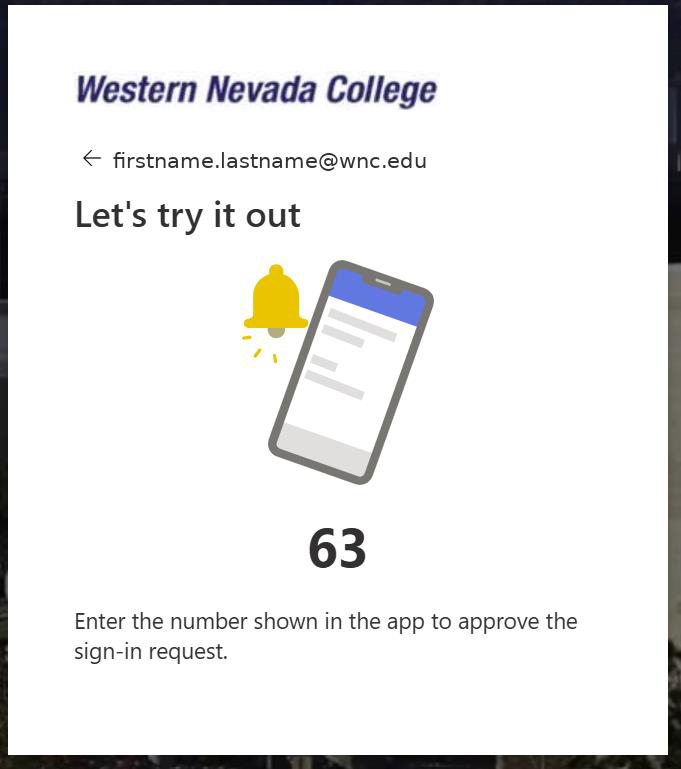
The number appears on your computer… - Your phone will ask "Are you trying to sign in?" Type that number into the box and tap Yes.
The number appears on your computer and gets typed on your phone — not the other way around.
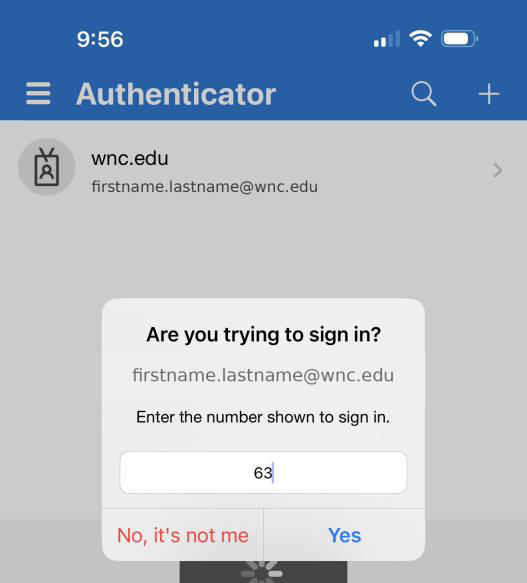
…and gets typed on your phone. Not the other way around. - Authenticator Added appears, confirming the app is now your default sign-in method. Select
Done.
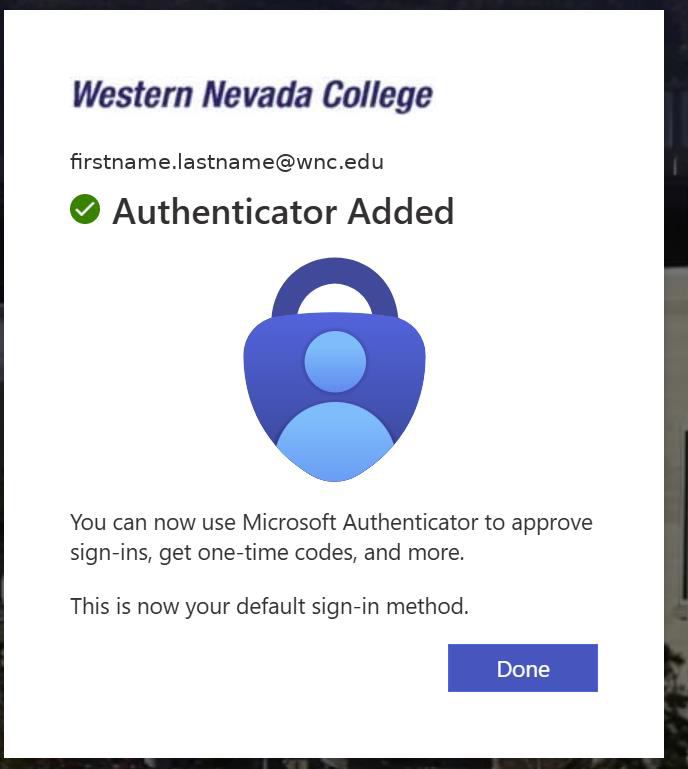
Authenticator Added.
Part 4 — Set your own password
Update your password appears next. This is the last step, and it is the one people get stuck on — you need the temporary password again here.
- Current password — the temporary password the Help Desk gave you. This is why you kept it.
- New password — one you create.
- Confirm password — type the new one again.
- Select Sign in.
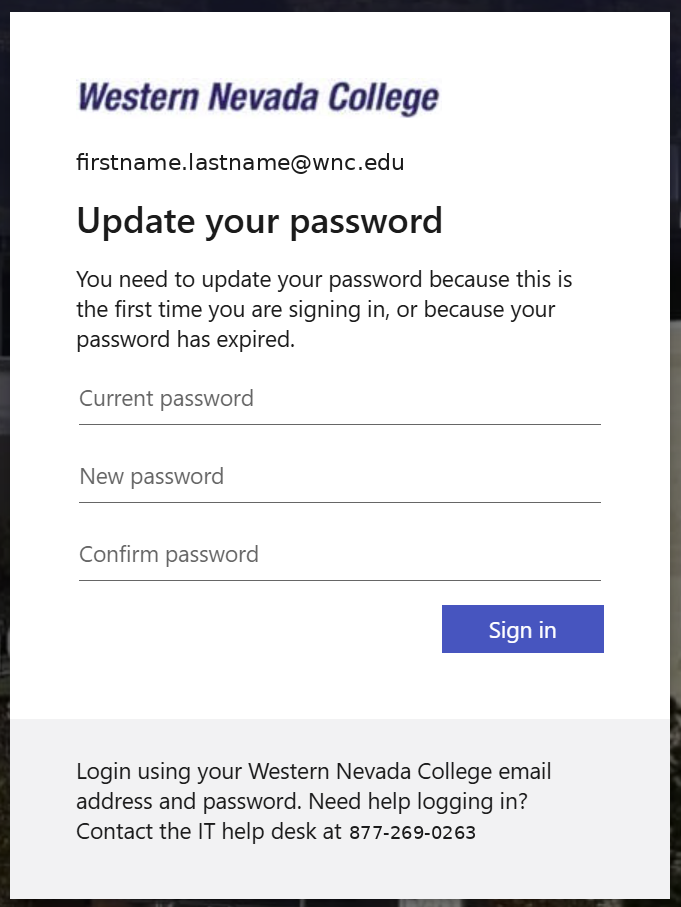
Choosing a good password:
- Use a phrase you will remember rather than a single word — four unrelated words strung together works well.
- Do not reuse a password from another account.
- Never share it with anyone, including the Help Desk.
Don’t stop before this step. Until you finish it, the temporary password the Help Desk read to you is still your password — and someone else knows it.
Part 5 — Finding your email
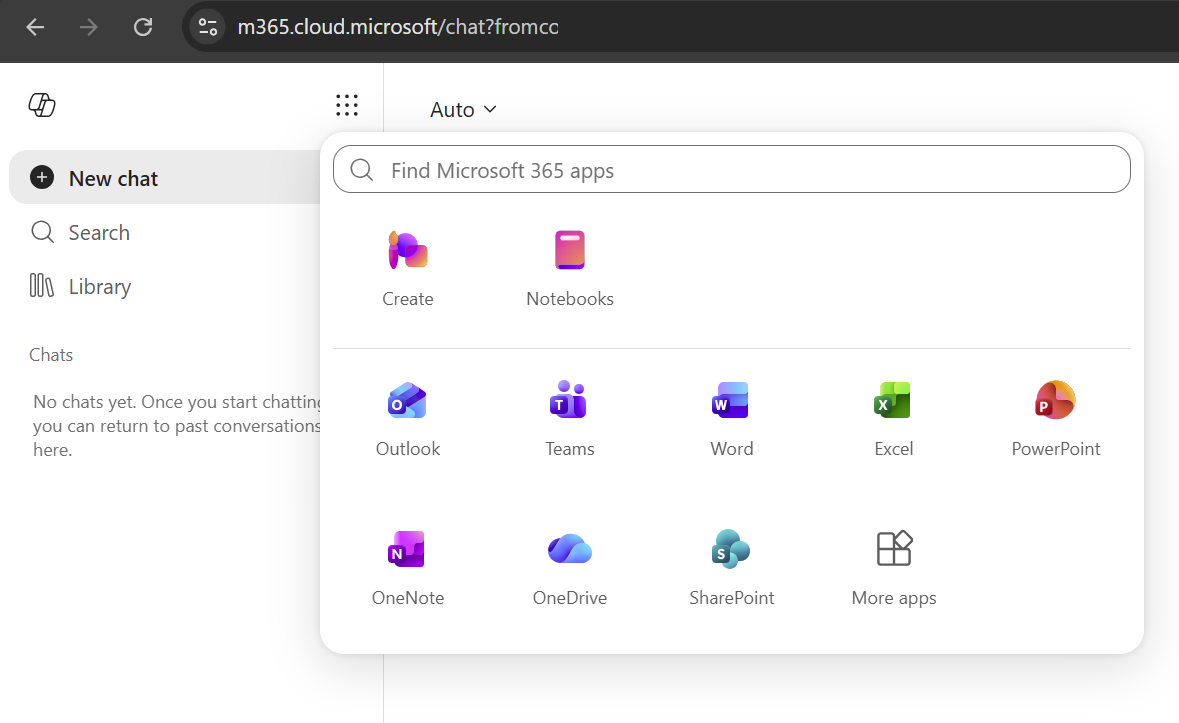
After signing in, you land on a Microsoft 365 page with a Copilot chat box — not your inbox. This is normal. Here’s how to get to email:
- Close the "All your work in one place, now easier with AI" pop-up using the X in the corner.
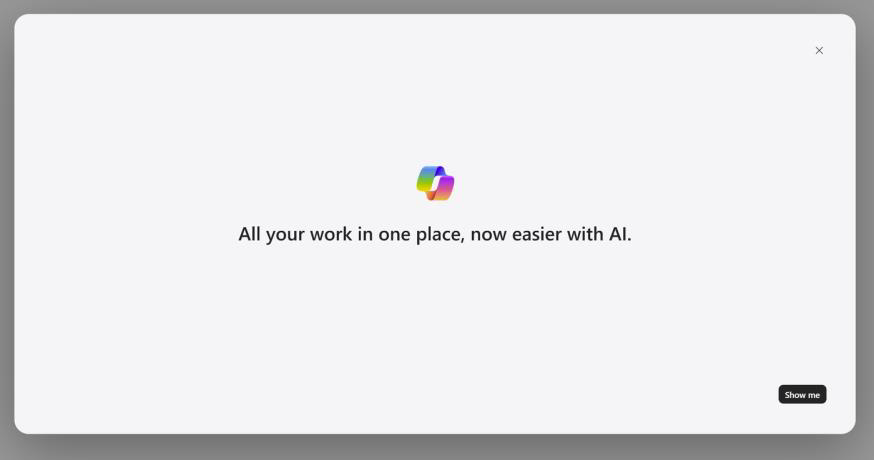
Close the Copilot pop-up using the X in the corner. - Select the waffle — the grid of nine dots in the top-left corner.
- Choose Outlook.
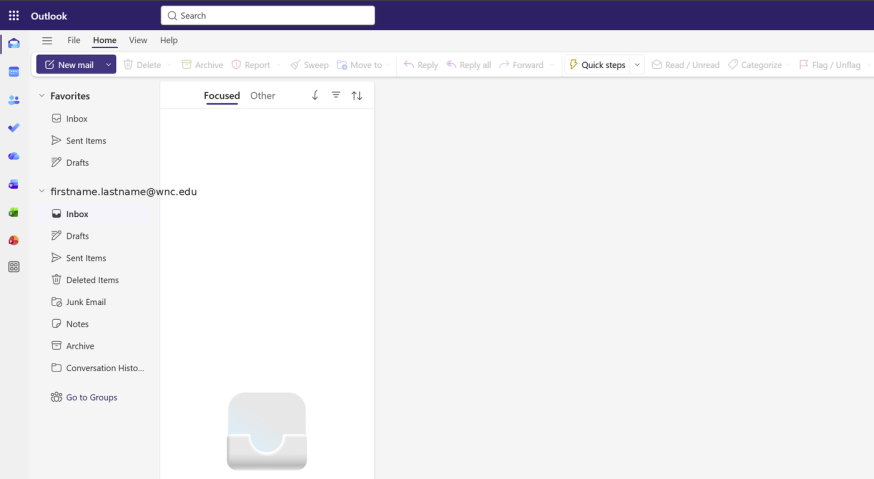
Your inbox opens. A brand-new account will say All done for the day / Enjoy your empty inbox — that’s expected, not a problem.
Shortcut: Bookmark outlook.office.com to go straight to your email next time and skip these steps.
Part 6 — Sign in again from scratch
Your account is already set up at this point. This last part just proves it works from a clean start, the way it will every day from now on.
- On your computer, close the browser completely.
- Open a new private or incognito browser window.
- Go to office.com and sign in with your WNC email address and your new password.
- Approve the prompt in the Authenticator app on your phone.
If you get in and can open your mailbox, you’re done.
Important things to know
- Use Outlook or your browser for WNC email. The built-in Mail app on iPhone, iPad, and Mac will not connect to your WNC account. Install the Microsoft Outlook app, or use email in your browser at outlook.office.com.
- Check this email regularly. Financial Aid, your instructors, and the College send important messages here.
- Keep the Authenticator app installed. If you get a new phone or delete the app, contact the Help Desk before you lose access.
Never approve a prompt you didn’t start
- If Authenticator asks you to approve a sign-in and you weren’t signing in, tap No, it’s not me and contact the Help Desk immediately.
- That prompt means someone else has your password and is trying to use it. Tapping Yes to make it go away hands them your account.
Troubleshooting
| What you’re seeing | What to do |
|---|---|
| Never received the activation email | Check spam/junk. If it’s not there, call the Help Desk — the College may have an old personal email address on file for you. |
| "We couldn’t find an account with that username" | Check for typos against your activation email. If it still fails, call the Help Desk. |
| You set up your NetID but still can’t get into Canvas | Canvas uses your WNSHEID / myWNC account (W1234567890), which is different. Call the Help Desk and say you need help with your WNSHEID, not your NetID. |
| The sign-in page won’t accept your W number | Microsoft sign-in uses your NetID — firstname.lastname@wnc.edu — not your WNSHEID. Check your activation email for the right address. |
| WNC branding never appears after you enter your email | Stop. Close the browser and go to office.com by typing it yourself. Do not use a link from an email or text. |
| Temporary password is rejected | It may have expired. Call the Help Desk for a new one. You will need to verify your identity again. |
| You threw away the temporary password before Part 4 | If you’re still on the call, tell the agent — they can issue a new one. If you’ve hung up, call back and verify again. |
| New password is rejected | It’s likely too short or too similar to your old one. Try a longer phrase with more unrelated words. |
| QR code won’t scan | Tap Enter code manually on your phone, or select Can’t scan the QR code? on your computer. |
| Authenticator app never receives the prompt | Check that notifications are allowed for the app, and that your phone has signal or Wi-Fi. |
| You signed in but can’t find your email | Select the waffle (grid of dots, top left) and choose Outlook. The first page after sign-in is not your inbox. |
| Inbox says "All done for the day" | That’s correct for a new account — nothing has been sent to you yet. |
| You can’t get Zoom to work | Try joining from a web browser instead of the app, or join from a different device. Tell the agent — they can help you get connected before verification starts. |
| Locked out entirely | Call the Help Desk. Do not create a second account. |
Getting help
WNC IT Help Desk
877-269-0263 · available 24/7/365
Call — the Help Desk is open 24 hours a day, every day of the year. Have your student ID number ready. You will be asked to verify your identity before any account changes are made, which is what protects your account from someone else taking it over.